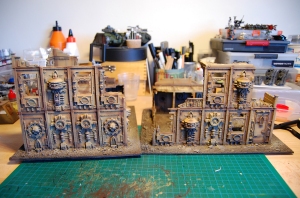
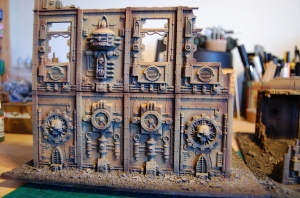
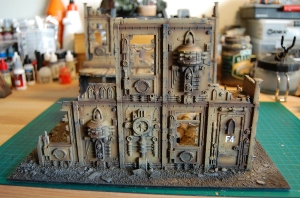
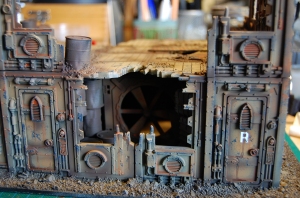
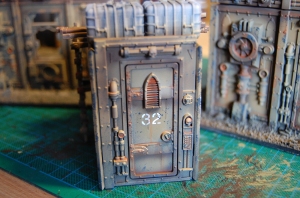
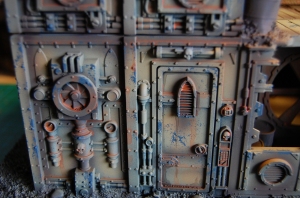
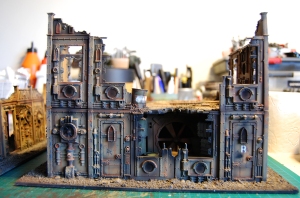
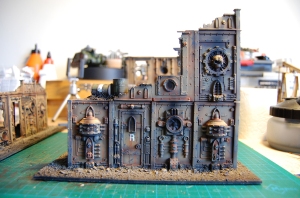
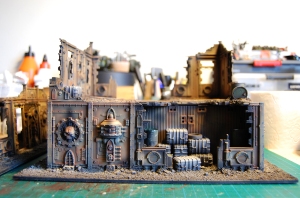
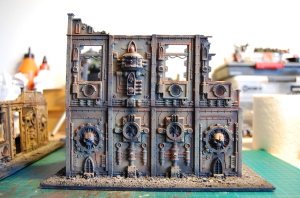
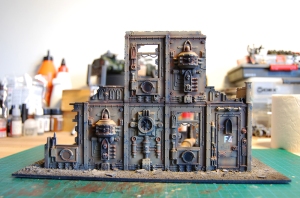
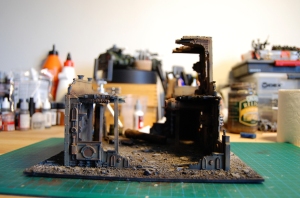
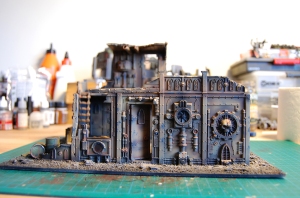
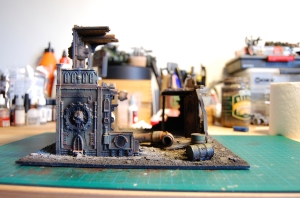
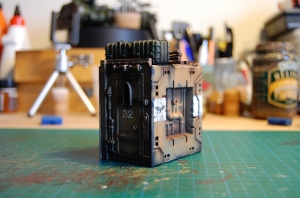
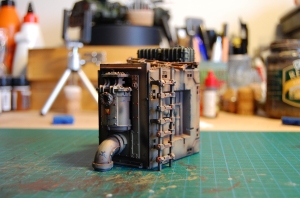
Welcome back to the final installment of the ‘how to build and paint 40k terrain’-series! Last week I discussed some great tricks for priming your scenery and how to work with artificial lighting and shades prior to even touching the pieces with a brush. In this article I’ll go over the last step of how I painted my destroyed ruins – I used an airbriush for the most part, but you could of course use any thick brush to get just about the same results.
Step 1. Working against your muscle memory
For all that I know most painters are used to painting from dark to light. We first paint basecoats, shade them, and then work our way up through the tones using highlights and accents. This is a natural procedure that not only reflects how our eyes perceive gradients, but also has a practical side to it – as it is harder to shade a fold on a piece of clothing withouth ruining the lighter surface around it. This is also true if you’re aiming to paint terrain with a newly built or undamaged look, however if you’re aiming for a ruined and burnt out theme you’ll see that inverting the process gives a better end result. Stay with me.
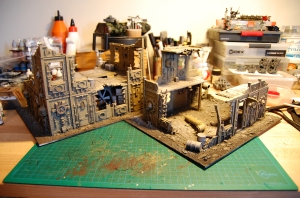
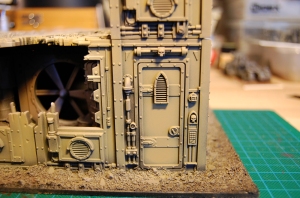
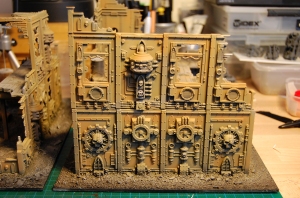
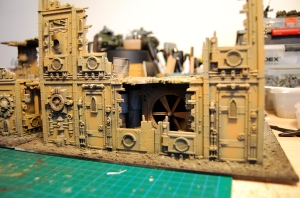
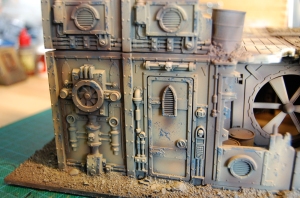
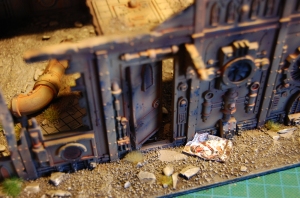
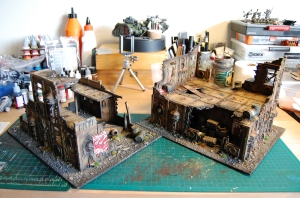
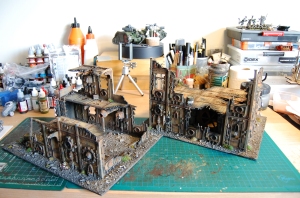
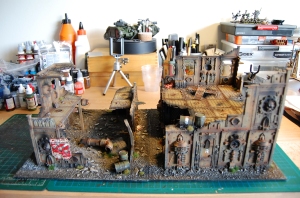
I loaded my airbrush with Vallejo Panzer Aces ‘Old Wood’ (310) and started painting the ruins, focusing on hitting the larger and flat surfaces. As you can see from the pictures below (look around the door for example) I tried to avoid covering the primer in all the cracks and crevices of the buildings. This is the color that I imagine the buildings were painted in before war reached this part of the grimdark solar system. Any light color will work well and if you’re painting civilian buildings I’d suggest happier and brighter colors like light blue, green or maybe even a yellowish tan. As I’m building an industrial complex I chose a standard brownish tan as I think it gives a dull manufactory-esque impression.
Step 2. I know it’s strange but have faith in yourself
The next color to go into the pot was Vallejo Panzer Aces ‘Yellowish Rust’ (303) which has a slight orange tint to it. I worked this color into every panel that had previously been painted, but instead of covering the areas completely I sprayed it in random patterns and patches all over the fasade. This gives the building a worn out look and adds depth to the light brown basecoat. Colors fade and change over time, not only with smoke and fire but also through the sheer exposure to nature, as rain, sun, wind, heat, and cold will take it’s toll on any paintjob. Through the Yellowish Rust I add a gentle feeling of an underlying corrosion that have faded or changed the primary color over time, which in turn gives the impression of the ruins being older than your granny.
Step 3. Join the dark side
To finish up the base of the buildings I used Vallejo Panzer Aces ‘Dark Rust’ (302) as a final shade. One of the most commonly used colors for shading earth tones is Vallejo ‘Burnt Umber’ from the Air range, but I wanted a slightly darker tone and since I have a crush on ‘Dark Rust’ at the moment it just had to go here as well. It’s a great color and if Donald Trump ever bought the color company that is Vallejo he would re-name it Dark Trump. That’s how great it is. Using the Dark Rust I traced all the panel lines of the buildings as well as focusing on the areas underneath overhangs and air vents that would cast a shade on the fasade underneath. I also used this color to shade the interior of the ruins, mainly targeting the corners of the inside walls.
Step 4. You can never go wrong with weathering
After applying some decals (which I will cover in the next step) I kept weathering the buildings using Vallejo Panzer Aces ‘Dark Rubber’ (306). I simply used an old piece of sponge or protective foam to create a chipping effect on the edges and other parts of the building where the color would have naturally worn off. There are several techniques for creating better chipped paint-effects but I find this one to be the easiest and most time efficient for this type of a project. After all, you don’t want to get bogged down and cover yourself in salt’n’hairspray over a ruin that nobody will pick up and inspect. Just work your way around every facing picking out just the right spots to chip, and try to keep yourself from overdoing it.
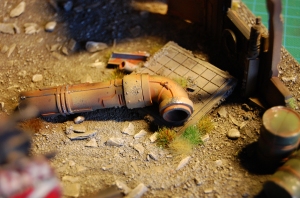
The next step requires a fine brush as it is time to add some streaking grime effects to some of the panels. I mixed up a rust wash using a standard orange paint and a lot of water. This mix was then applied around all the piping, pressure gauges, rivets, and air vents. If you find a good flat surface you can also paint streaks of rust water down the panels. Try to mimic the way water naturally flows by drawing vertical lines between rivets and other spots where water would pool up and flow. After allowing the rust wash to dry I repeated this process with a Dark Tone wash from Armypainter.
Step 5. Adding more colors and contrasts
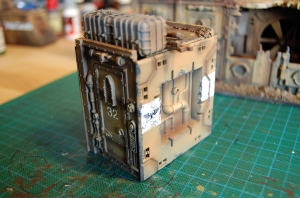
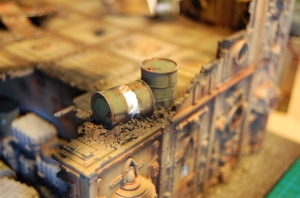
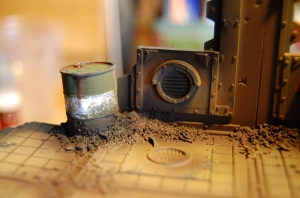
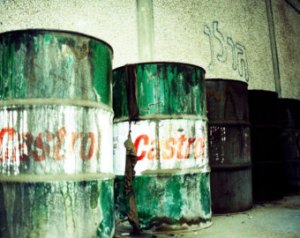
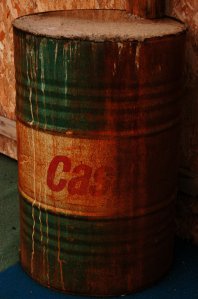
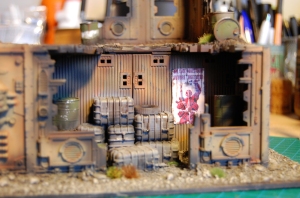
At this stage all the colors are pretty much just earthy tones of brown and grey. To add some spot colors and interest to the terrain I applied white decals with numbers and letters to some of the doors, as well as painting the oil barrels in olive drab and with white stripes across the center. Use scattered equipment like ammo boxes and bags to add color and contrasts to your scenery but try to stay away from crazy colors like screaming pink. I find it useful to just take a look around town or search the internet for reference pictures.
To finish off the ruins I added a final contrast by painting black around all the edges and craters. I also sprayed black paint on the air vents and above some of the windows to mimic a sooted and burnt effect, as flames would burst out the windows and blacken the wall panels directly above when the building was on fire. If you have an airbrush this is also a perfect opportunity to create other burn marks like those of ricocheting blaster or laser shots in suitable places (look under the ‘R’ on the door in the first picture below). Thats it! At this step you can finish the base, put it on a table, and pat yourself on the shoulder for completing yet another projcet… Unless you want to level up your skills and give your beautiful bombed out ruins another 30 minutes of attention to make them stand out from the rest. Trust me, it’s worth it!
Step 6. Forging a narrative!
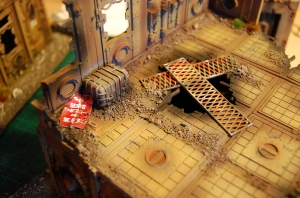
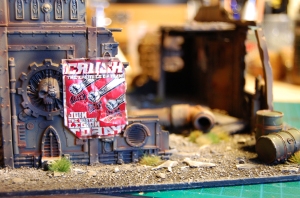
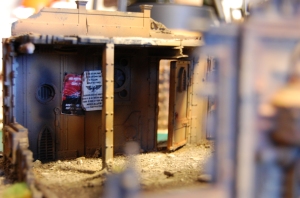
This is perhaps the most fun part of the process as this is where the scenery will really come to life and tell a story of it’s own! I printed out a set of fan made 40k propaganda posters in various sizes to decorate my set of ruins. After folding and wrinkling them a couple of times to show wear, I glued the posters around the walls and the interior of the buildings. As a final touch I placed some posters on the ground to give the impression of them being ripped down or just scattered by the wind. Trash paper tends to end up in corners or around other obstacles on the ground so make sure to take your time and find the perfect spots for these. The final touch was adding grass tufts (this is the best place to go for tufts!) around the bases and on top of some of the bits. This helps covering up rough joints and creates a natural overgrown feeling if you’re aiming for an aged look. As with the posters, this is also a way of incorporating spot colors and flavour to your terrain!
At the end of the road
There you have it. Take a deep breath, relax, and look at what you just achieved. From building to priming and painting, I’ve shown that with a little knowledge and planning ahead you can improve your terrain-making skills tenfold! Because nobody should settle for empty beer cans and Pringles-pipes on the game table. If you liked this article please share it with your friends as it helps out a lot. Why not leave a little comment below and let me hear your thoughts?
